
Food Photography Studio Workflow
In last week‘s post HERE, I talked about the pros and cons of both Lightroom and Capture One. To get some background as to why I have this Food Photography Studio Workflow be sure to read that first, which explains my reasoning.
This is PART 2 of a 2-part post. Read PART 1 here.
Studio Workflow Parts
As a food photographer, I need a fast and reliable workflow in my studio.
The basic parts of my Food Photography Studio Workflow are
- Capture
- Organise
- Basic edit
- Retouching
- Output final images
Because of the strengths and weaknesses I have found with both Capture One and Lightroom, I have found a workflow
that combines the strengths of each. Find out more about this on my blog post HERE.
The primary point of this blog is describing the studio workflow between Capture One and Lightroom. It isn’t an in-depth tutorial on how to use either Lightroom or Capture One and assumes you are already familiar with one or both of these programs.


Setup Adobe Lightroom
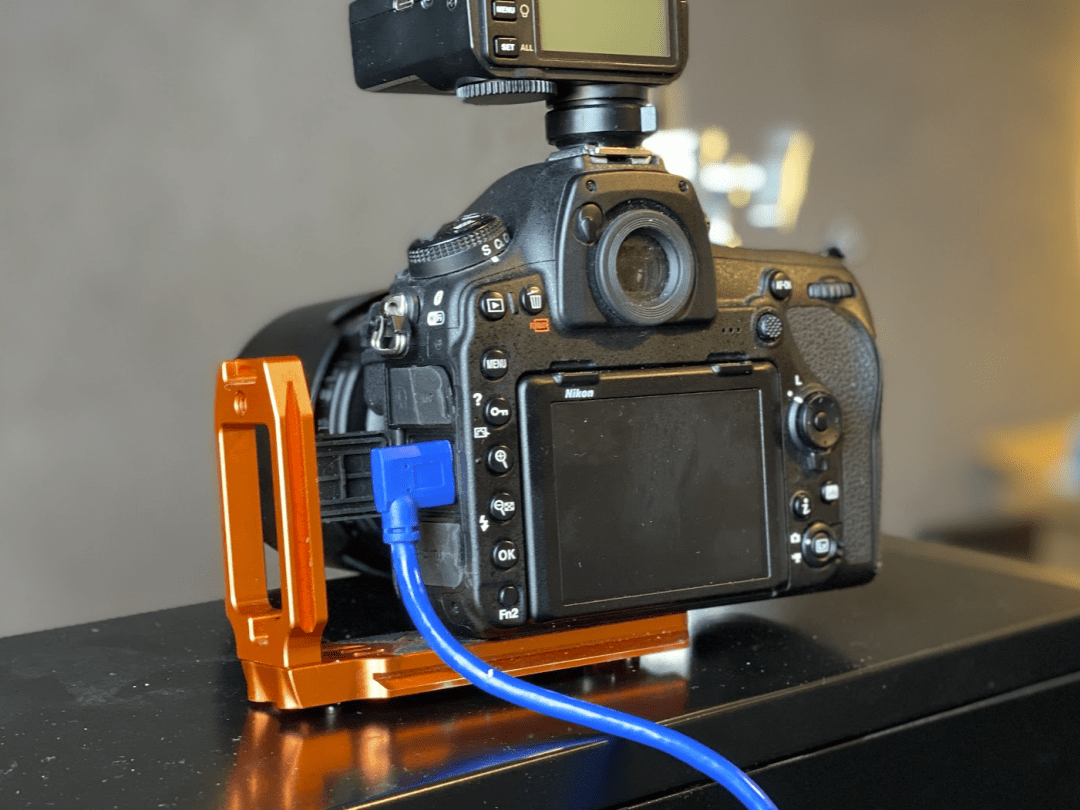
I tether into a Windows desktop PC using a 5m USB 3 cable directly into my camera via a signal booster.
I use Capture One for the tethering as the product is far superior to Adobe Lightroom.
Firstly set up a watch folder in Lightroom.
Click File then Auto Import, then Auto Import Settings.
Tick the Enable Auto Import box and then choose the Watched Folder button.
This will open up Explorer for you to navigate and select a folder where you are going to export all your images from your Capture One folder after you shoot tethered.
For me, I selected a folder in my file structure called Transfers_From_tether.
Once your watched folder is set click the Choose button under the Destination heading. Again, Explorer will open, and this is a folder where your files will be moved to, in your Lightroom folder structure.
Here you can also optionally name and add into a Lightroom collection.
On the Auto Import Settings box you can also set a file naming regime (I leave this part to Capture One) and add develop settings and metadata including keywords. And Initial previews.
When finished, click OK.
The above settings allow Lightroom to ‘watch’ a folder, and if any images go into that folder, Lightroom will automatically import those files with the settings you have prescribed, and move the images. You don’t need to light a finger!
You only need to do this once. Let’s head over to Capture One.
Setup Capture One
Set up the capture folder in Capture One, connect your camera and shoot tethered into the Capture Folder. From there I make my selections of the images I want to keep, or at lease, further review. (I delete all the obvious bin-worthy images; focus, composition, exposure problems, or test shots without the real subject in place.)
Once you have your selects in an album, right click the album, choose Export Images and then Originals. This ensures that the RAW file is sent over into Lightroom.
Right click the folder and choose export originals.
An Export dialog box opens.
Here you set the Destination folder (this needs to be the same folder as the ‘Watch’ folder you set up in Lightroom. You have an opportunity to set up a file renaming recipe as well, so the files are renamed when they export.
Click Export and you are done!
Capture One remembers the last settings you used, so you only need to set this up once. I have different Export Naming recipes depending on the job, so I only change this to one of the recipe presents I have already set up earlier.
In Lightroom (if its open), the images will automatically import.
From there everything is done in Lightroom and I don’t use Capture One any further.


Studio Workflow finishes in Lightroom
I will move the images into a different folder, like Client name or the Shoot name, whatever you use.
Following setting up in the Library, I do 90% of my editing. A small portion of my images I will open into Photoshop for some complex retouching.
Then, using the export function within Lightroom I will export my finals for delivery to the client, or for my portfolio etc.
And that if the Food Photography Studio Workflow in a nutshell.
My workflow when shooting on location is a little more manual; I still shoot tethered onto Capture One installed on a laptop, then copy the images onto a portable drive and import into Lightroom using the Import tool.
I hope this was helpful to any studio photographers who may like to shoot tethered using Capture One but use Lightroom’s powerful library features.
Work with John Fyn Photography
My goal is to represent your food, your creations and your dishes working with you to enhance the presentation of these and therefore creating feelings of appetite at first sight to your customers.
I normally cover Greater London and South-East England for commissioned work - if you’re further away don’t worry, we can work something out. I also shoot food products in my home studio, if you prefer, these can be sent directly to me.
Contact me now to have a chat about your requirements ...